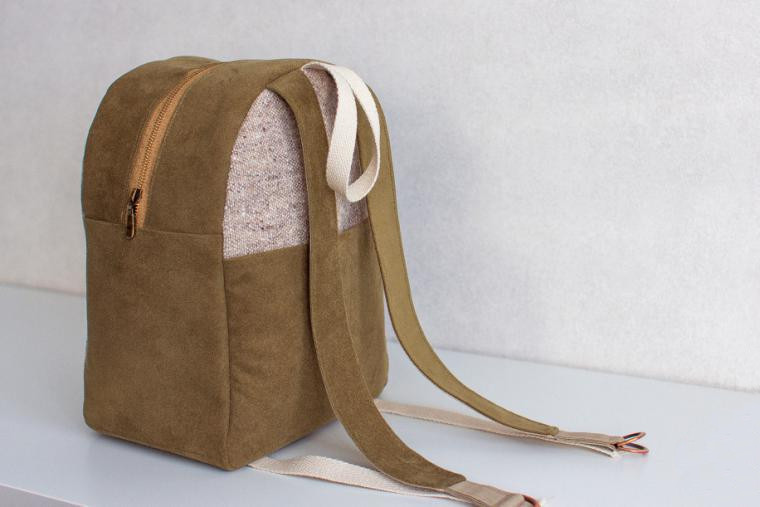
How to make a pretty backpack for girl! Very simple tutorial step to step.

Materials and tools:
main fabric (faux suede and wool fabric);
lining fabric (cotton);
a thin adhesive dublerin/interlining;
hard or volume of the adhesive interlining;
felt for the bottom;
zipper;
four half rings for straps;
belt.
For decor:
felt;
the basis for the brooch.

1. Preparation of tissue. Regular fit.
Print or translate the pattern for the outer wall of the backpack (when removing the pattern, check the scale of the square 1cm x1cm). From the main fabric and lining fabric on the pattern cut out two parts. Details of the main fabric glue on the wrong side of the volume or rigid interlining. Details of the lining fabric glue a thin interlining. Apply marks to the middle of the sides on all

And two details for the fastener of the main and lining fabric size 7.5 cm x 32 cm on the straps make a mark in the middle of the long sides.


For the outer open pocket of the backpack, cut out one part from the main and lining fabric (the pattern for the pocket is the painted area on the first pattern). Glue the doublerinom detail from the main fabric, make a mark in the middle of the lower side of the pocket.
For the inner pocket-make a pattern yourself of any shape. You can make a square pocket, oval shape, like mine, or with a zipper.
2. Pockets. (Left inner pocket, right outer pocket)

Details of the outer pocket fold the front sides and sew on the long upper side. Detail turn out. Fold at the seam and iron.
Details of the inner pocket fold the front sides, stitch around the perimeter, leaving room for turning. Detail turn out and iron.

3. Bottom of the bag.
Cut out the bottom of the felt size of 20 cm x 14 cm. Fold the part of the felt and the main fabric and quilt. For convenience, you can glue the felt to the main fabric with an adhesive cobweb.
Mark the middle of the bottom sides.


4. Inside pocket.
Pocket attach to the details of the lining in the center, attach the pins and sew.

5. Lining.
At each part of the slats on the long side, bend inside 0.5 cm. this will be required in the future to build a backpack with a lining and stitching along the zipper.

Details of planks lay down nearby, the ironed party inside, and stitch with a detail of a bottom from two parties. Important-the distance between the bars should be equal to 1cm.

Detail turn out and iron.

Collect the inside of the backpack. Pins cleave the parts together, combining the marks of the middle of the sides. Make small notches in the semicircular areas. Lay the line around the perimeter.

6. Straps.
From a plain fabric, cut out two parts with a size of 12x6 cm (because the diameter of the half-ring is 1.5 cm). Fold each part in half, combining the long sides of the parts, iron. Iron the long sides of each piece to the center.

Fold the part in half with the short side and thread two half-rings into each. To keep the rings from dangling, fix the line.

From the main fabric, cut out two main external parts of the straps size 30x5 cm and two internal parts of the straps size 30x5 cm.

Use an iron to glue the outer parts of the straps on the wrong side with a thin adhesive interlining. From the front side on the short side, sew the details with half-rings.
Fold the outer and inner main parts of the straps facing each other, cleave and stitch all sides except the free short side (for turning). Turn out the straps, iron and lay the line on the edge.

For the second part of the straps (the one that will adjust the length of the strap), you will need two pieces of belt tape 15 cm long. Thread these parts of the straps through the half-rings.
To make a handle, take a piece of belt tape 20 cm long.
7. The outer part of the backpack.
By analogy with point 5, make a zipper from the main fabric. Put the planks on the zipper, attach the zipper, using the foot for zipper. Iron the seams. On the front side, run a line along the zipper on both sides.
Now stitch the clasp with the bottom. Turn out and iron the seams.

To the upper section of the back wall strictly in the center, pin the folded handle in half and close to it the straps with the inner side to the wall. Run the line over the handle and straps.
Pin the pocket and the free ends of the straps to the lower section of the back wall. Stitch.
Pin the back wall and sides together, combining the marks of the middle of the sides.

Make small notches in the semicircular areas. Lay the line around the perimeter.

Now connect the front wall of the bag, combining the marks of the middle of the sides. And sew it around the perimeter. Turn out the backpack through the open zipper.
8. The Assembly of the backpack.
Inside the backpack, place the lining and run the seam around the zipper.


9. Decor.
Make your own template for creating flowers. That's what you want, experiment. And cut from felt on this template on 5 details for each flower. I decided to make the flowers multi-colored, so three parts of one color, and two-another. And cut out a small circle to make a beautiful brooch where the clasp.

Fold the part in half, and then again in half.

Four folded flowers sew together


Thanks for sharing this really helpful picture tutorial. I'm going to sew such a little backpack for my little grandson. Kind regard from the EU.
ReplyDeleteME SIRVIÓ DE MUCHO GRACIAS Y BENDICIONES.....
ReplyDeleteMaravilhoso, amei e a melhor explicação que já vi sobre a confecção de uma mochila infantil ;)
ReplyDeleteWow that's so cute bag. I Like it.
ReplyDeletethis is very nice, simple and easy to follow, thank you!
ReplyDeleteIncredible backpacks ideas for kids! Thanks for sharing such useful tips with us.
ReplyDelete